


Table of contents
- Prerequisites
- What is Docker?
- Step 1: Create React App Using Vite (Skip this step if you already have a react app)
- Step 2: Update vite.config File
- Step 3: Create a Dockerfile
- Step 4: Add Commands to Dockerfile
- Step 5: Build the Dockerfile
- Step 6: Run the Docker Container
- Step 7: Open the App in the Browser
- Thanks For Reading!
Originally Posted On - nandhakumar.io/post/step-by-step-guide-to-d..
Hey Folks!
In this post, you'll learn how to dockerize your react app created using the Vite tool for the development environment
Prerequisites
- Basic knowledge of React
- Basic understanding of what is docker (I'll give a brief on it as well)
- Docker on your local system
What is Docker?
Docker is a tool that helps to create a common environment(called as Container in the docker world) for development, testing and production.
Let's say you are developing a react app on your local environment(development)
Now, once you are done with the development you need to hand over the source code to the testing team and if the testing team doesn't have the same environment as your local environment there might be some issues which would be a blocker for testing.
Similar scenario for production as well.
So How can we ship the environment to all the places where ever you run the application?
And here comes Docker, It will create a virtual environment for your app to run and you can create and use the environment where ever you need to run your app.
Awesome right?
That's a short brief on Docker.
If you want to know more about it check out the Official Docker Site
Now Let's see how to Dockerize your React app.
Step 1: Create React App Using Vite (Skip this step if you already have a react app)
npm create vite@latest
You'll be asked for
- App Name
- Which Framework to use like React, Angular, or Vue? Choose React
- Then, Typescript or Javascript. Choose as you wish
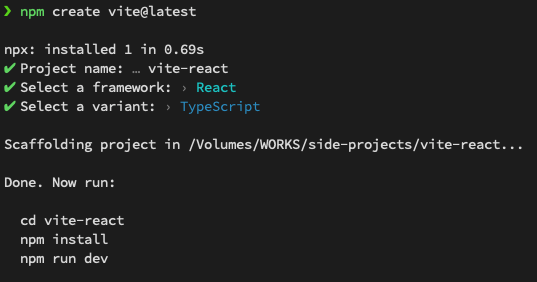
Now switch to the project directory
cd [your project name]
Step 2: Update vite.config File
This step is required to map the port between Docker container and your React app
Now replace this code snippet in vite.config
export default defineConfig({
  plugins: [react()],
})
to
export default defineConfig({
  plugins: [react()],
  server: {
    watch: {
      usePolling: true,
    },
    host: true, // needed for the Docker Container port mapping to work
    strictPort: true,
    port: 5173, // you can replace this port with any port
  }
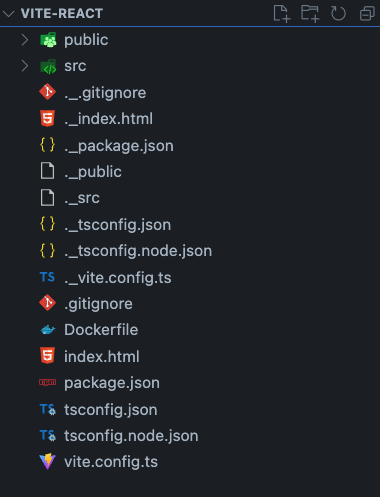
Step 3: Create a Dockerfile
Create a file called Dockerfile in the root of your project directory like this 👇
Step 4: Add Commands to Dockerfile
Copy these commands to your Dockerfile
FROM node

WORKDIR /app

COPY package.json .
RUN npm i

COPY . .

## EXPOSE [Port you mentioned in the vite.config file]

EXPOSE 5173

CMD ["npm", "run", "dev"]
If you don't know what are these commands, read the explanation 👇
FROM node- Will create a node environment in the containerWORKDIR /app- Will create a directory app and switch to that directoryCOPY package.json .- Copies package.json file to /app directoryRUN npm i- Runsnpm installto create node_modules for your appCOPY . .- Copies the source code to /app directoryEXPOSE 5173- Exposes the port to access the app from outside the container i.e from the browserCMD ["npm", "run", "dev"]- Executesnpm run devto start the server
Step 5: Build the Dockerfile
In the terminal navigate to your project directory, then execute
!! Remove the [ ] when executing
docker build -t [any name] .
Flag used in the command
-t- To tag the container (This will be your container name)
After the build completion, a docker image will be created.
Docker Image is a template to run the container.
To check your Docker Image, execute
docker images
It will show the list of images available on your system
Check whether the name of the image you have given when running the docker build command is available in the list.
Step 6: Run the Docker Container
Execute this command in the terminal 👇
!! Remove the [ ] when executing
docker run -d --rm -p 5173:5173 --name [name of the container] [your docker image name]
Flag used in the command
-d- To run the container in the background (Detach Mode )--rm- To delete the container, when you stop the container-p- Port Mapping between container and outside world.5173:5173- [Port access from Browser]: [Port exposed from the container]
To check whether your docker container is running or not, execute
docker ps
It will show the list of containers running on your system
Check whether the name of the container you have given when running the docker run command is available in the list.
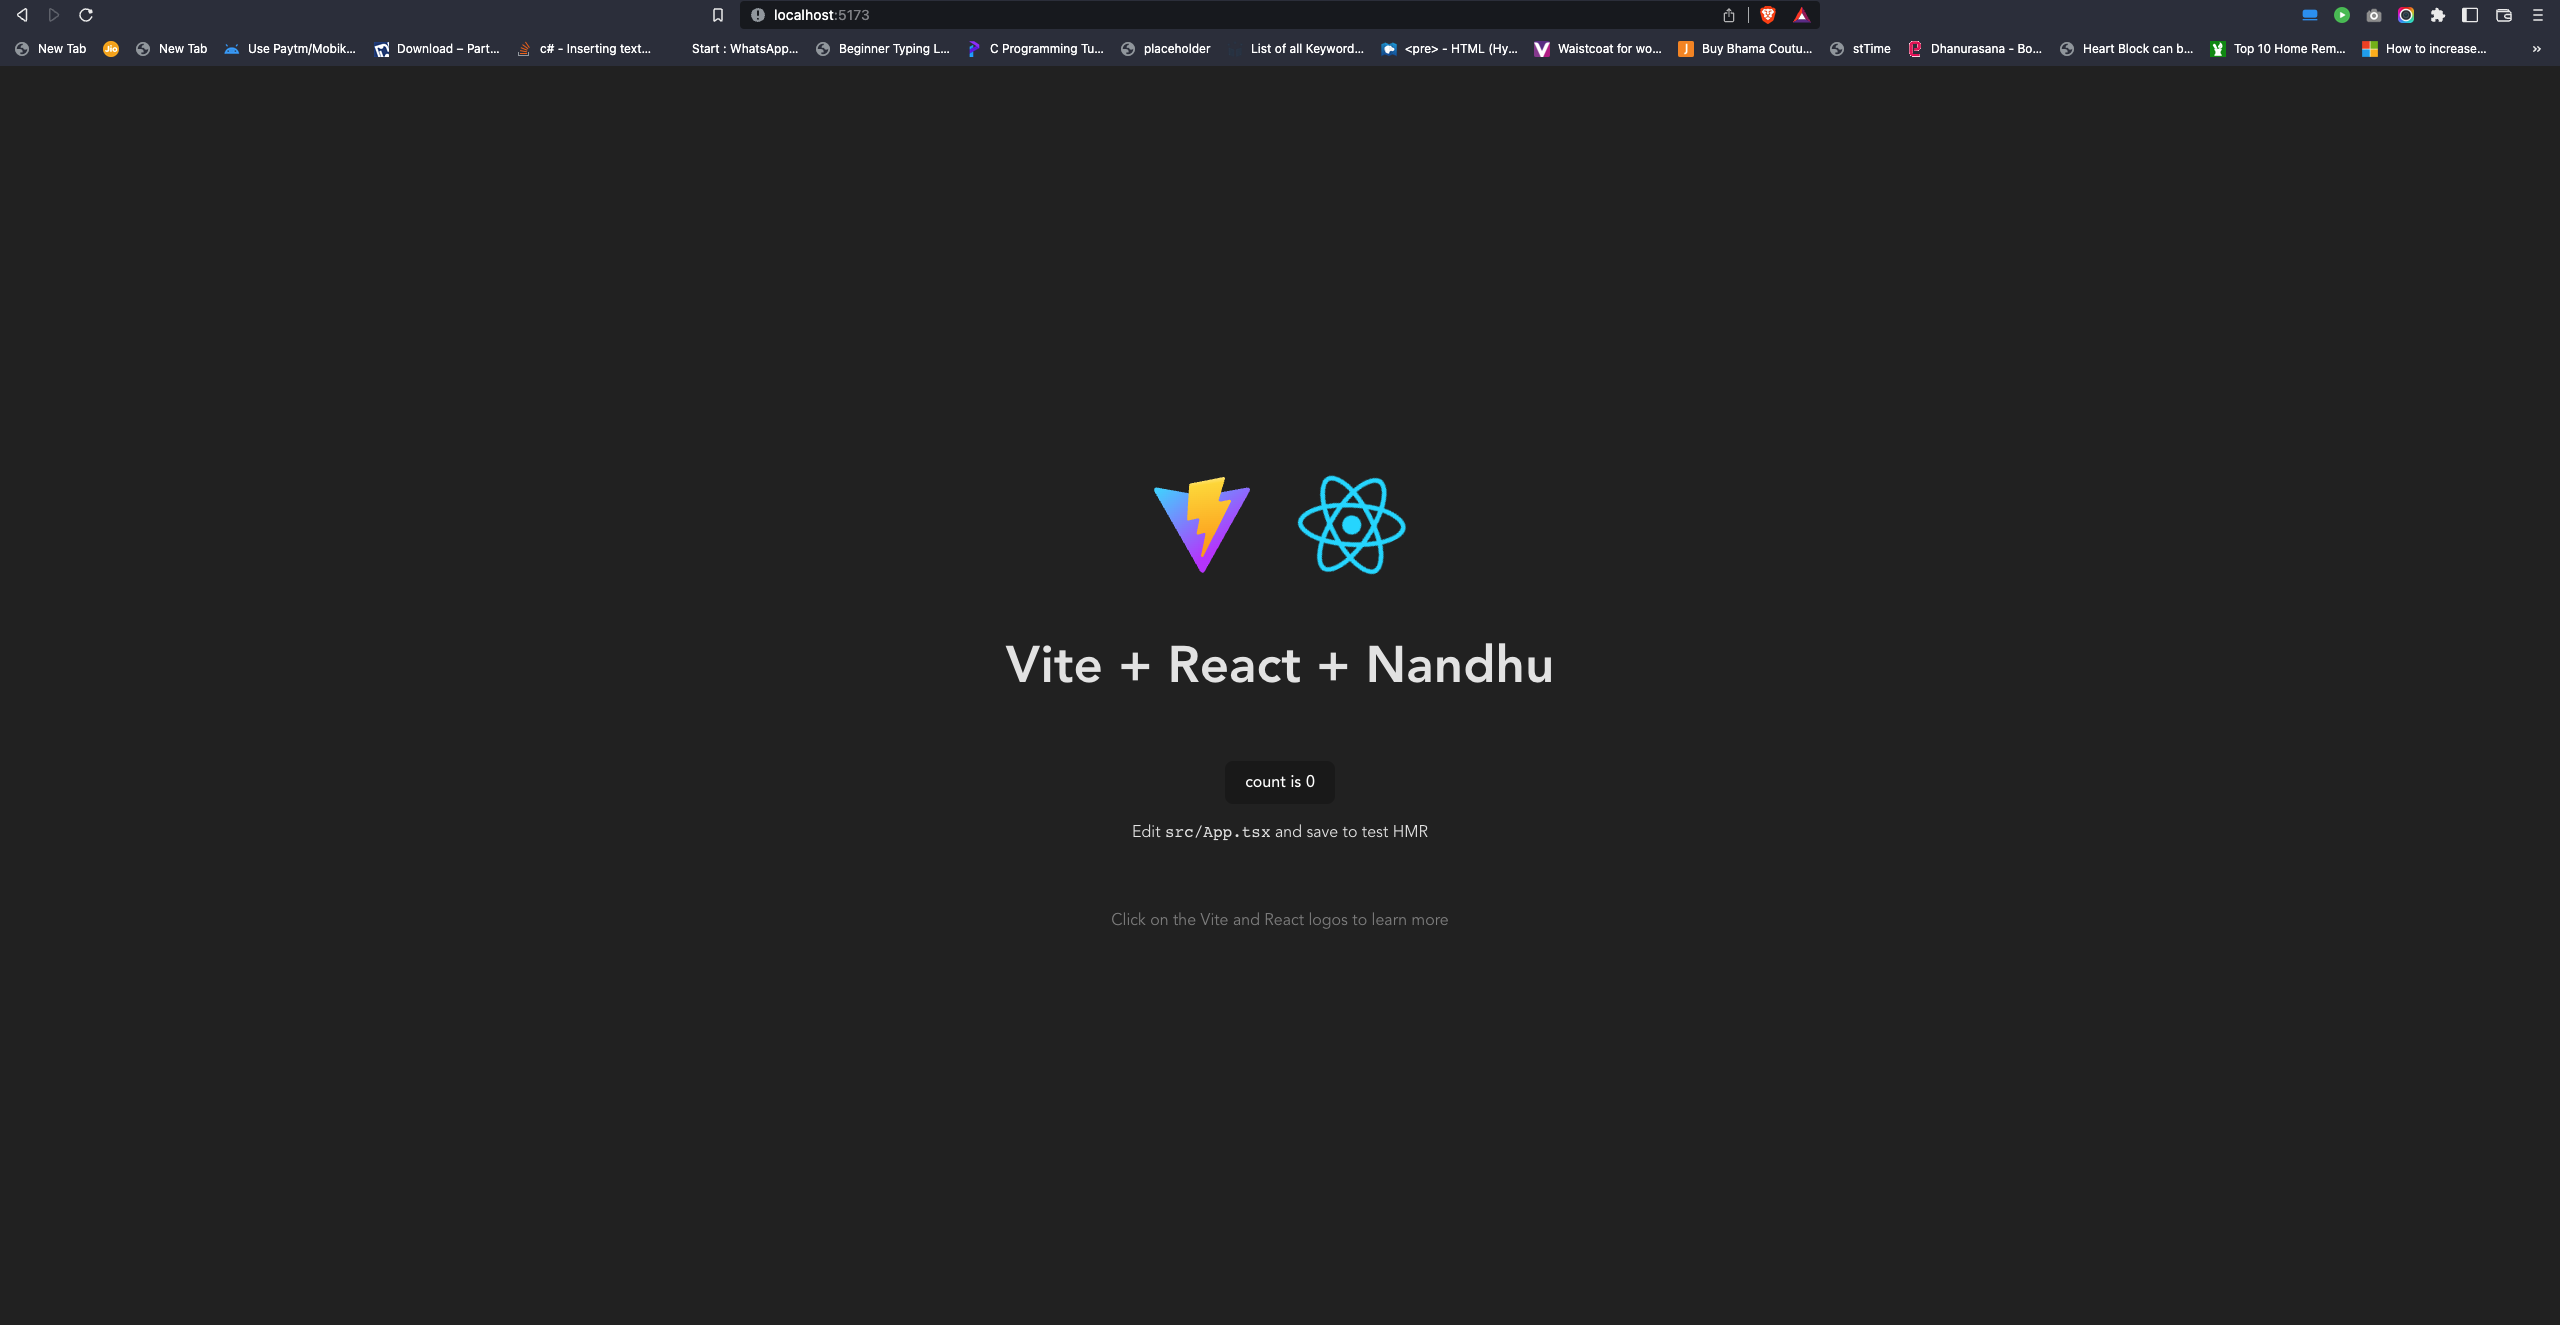
Step 7: Open the App in the Browser
Open the Browser and access http://localhost:[Port you mentioned in the docker run command] as per the configuration we did so far it should be http://localhost:5173
Thanks For Reading!
Hope you have learned something new today 😊.
Follow and connect with me on Twitter, Instagram, Email and LinkedIn for more interesting stuff like this.
My Personal Blog nandhakumar.io
Cheers ✌️